

diy seasonal journal cover
it’s giving spooky but cute
If you’ve been following me for a while you would know that your girl LOVESSSS refreshing my desk for the holidays AND of course making seasonal journal covers!
Before I started committing to placing stickers onto my journal cover, I was worried about two things:
Since I have to live a whole year with these stickers I’ve placed on my journal cover will I get sick of it?
I love refreshing my journal cover for the holidays, it not only sparks inspiration and motivation but it also makes me enjoy the holidays more, so how am I going to change up my cover if I’ve already placed stickers onto my journal cover?
Then I was like you know what, why don’t I just make seasonal journal covers using scrapbook paper?!…and so the DIY process commenced!!
find those scrapbook papers
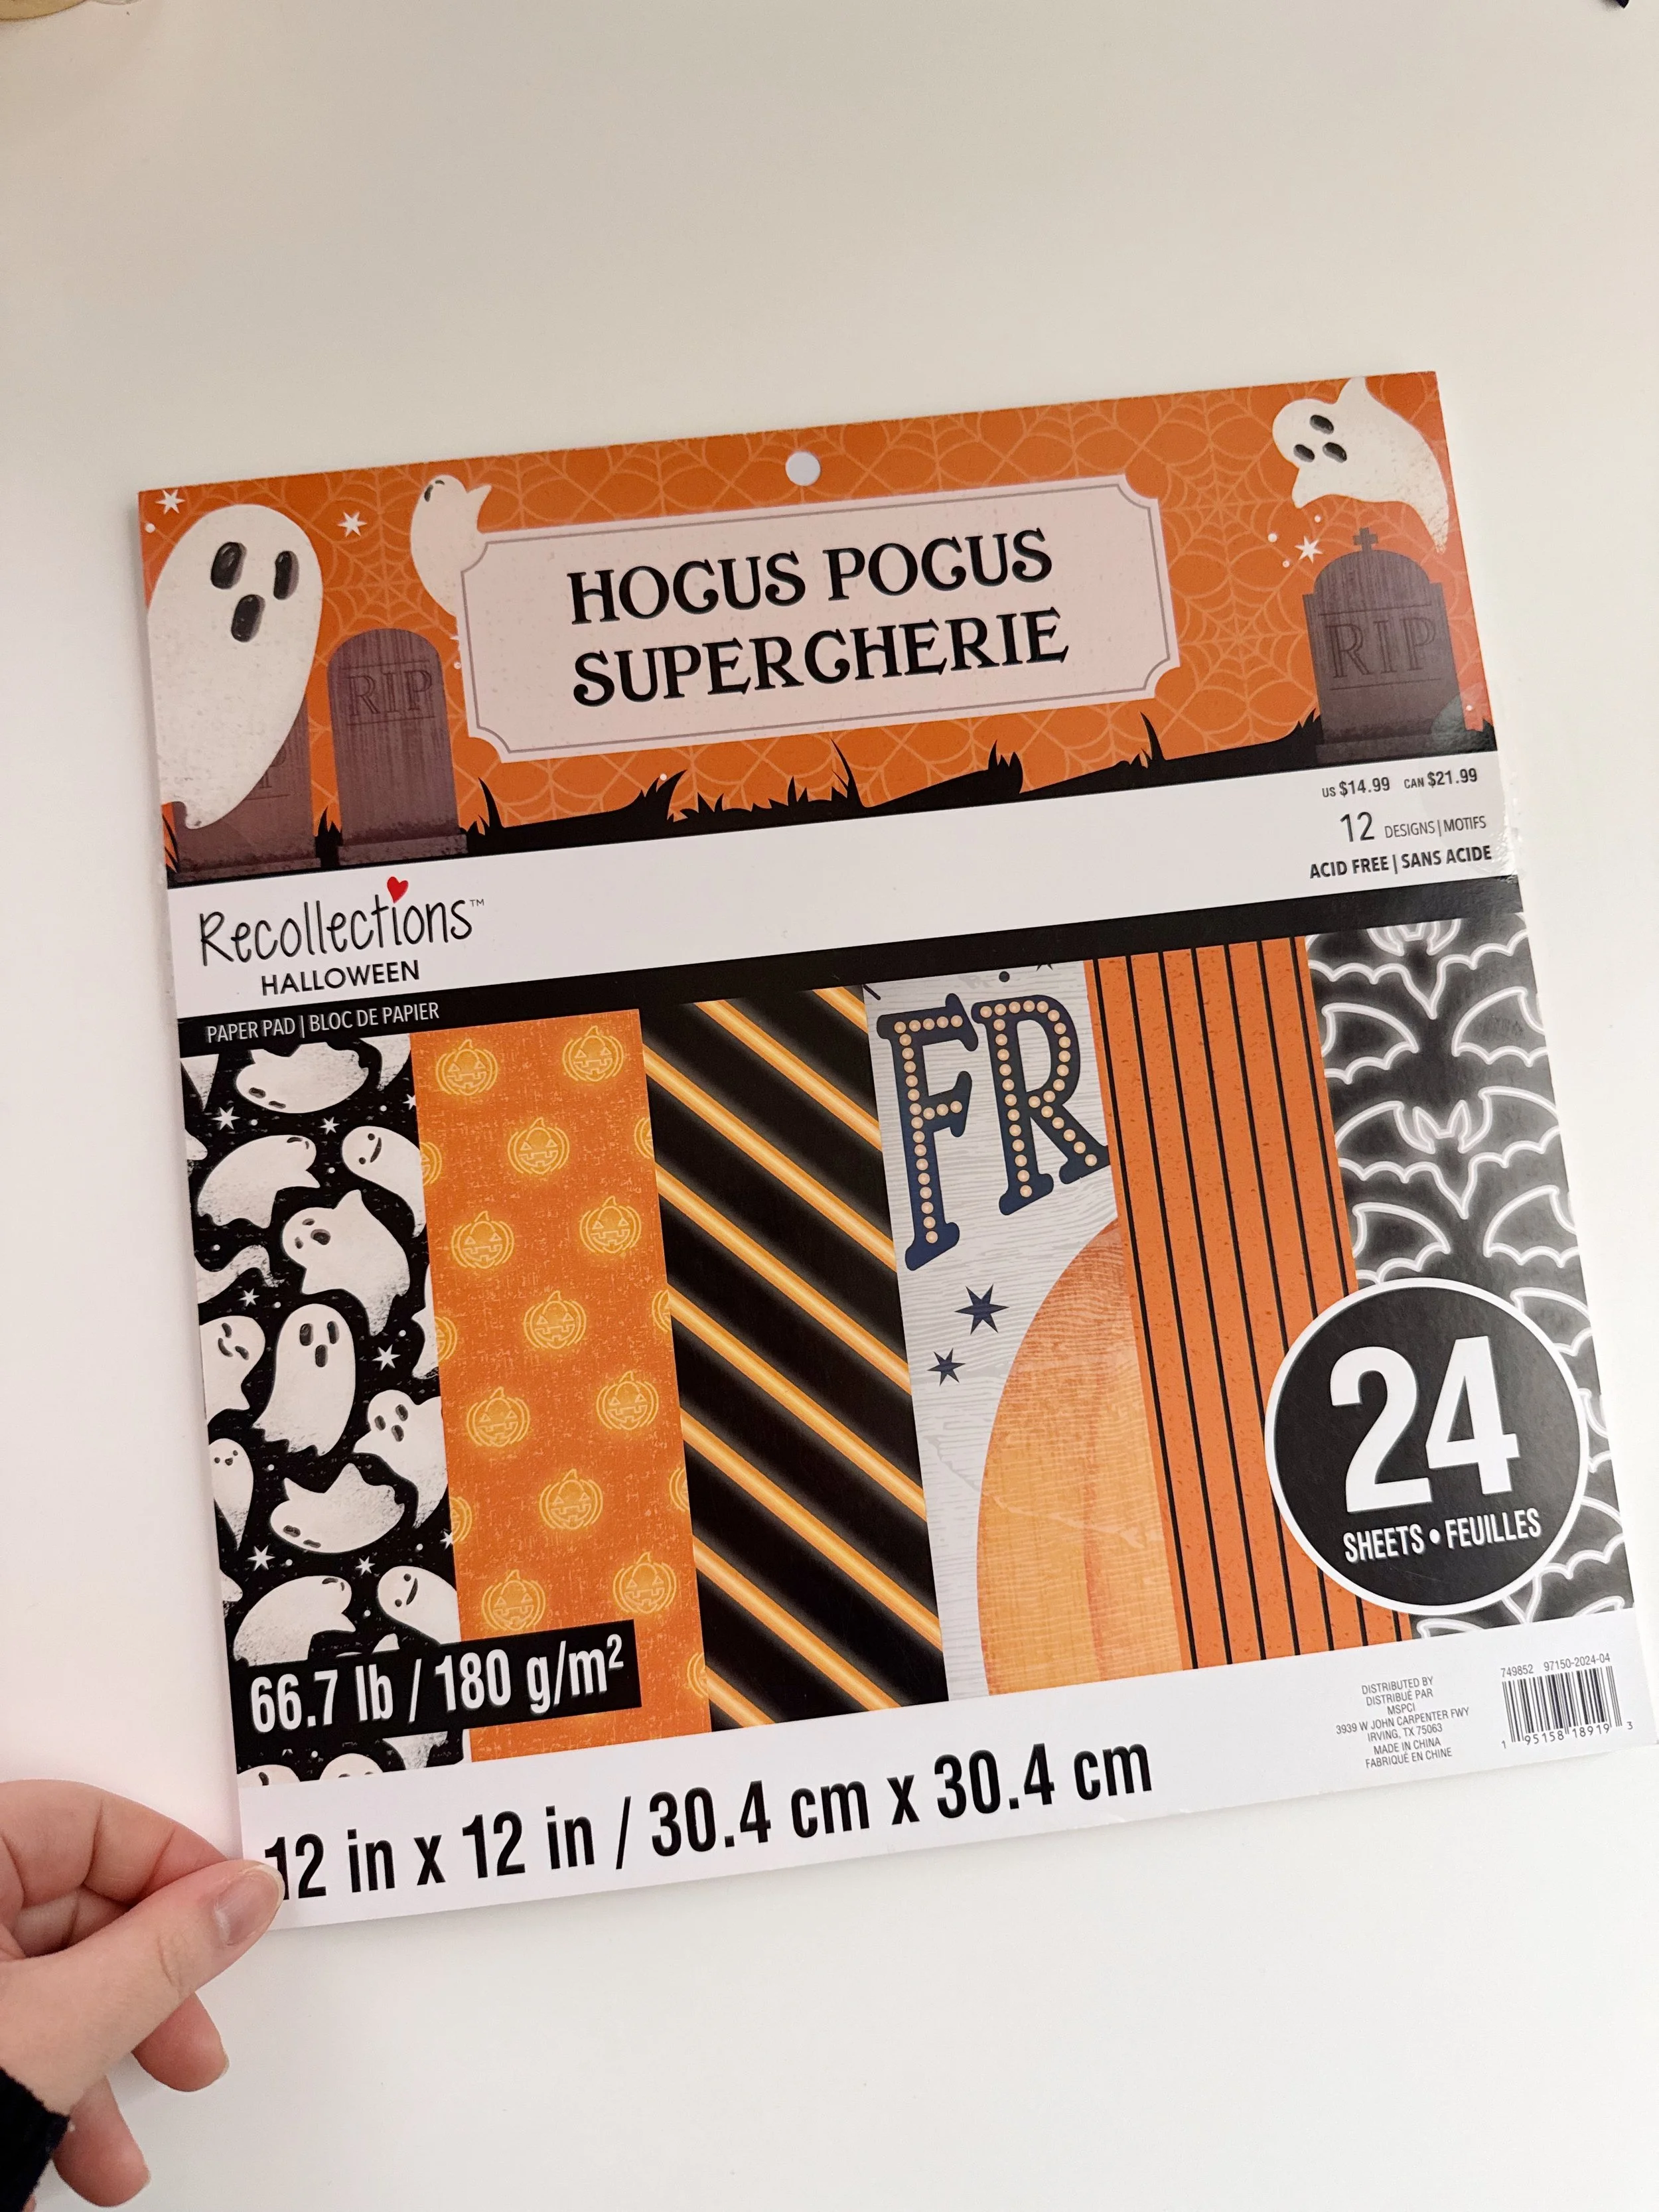
I LOVE to purchase those gigantic scrapbook paper pads from Michaels, especially since they heavily discount the seasonal ones! So for Halloween I bought 2 and now I have some stock for a few years!
I’ve also noticed a lot of small businesses selling scrapbook/craft paper using such amazing and creative designs such as GrumpyNook, Martina’s Tiny Store. There’s also a magazine called Daphne’s Diary that gives those cottagecore vibes!
2. set a foundation
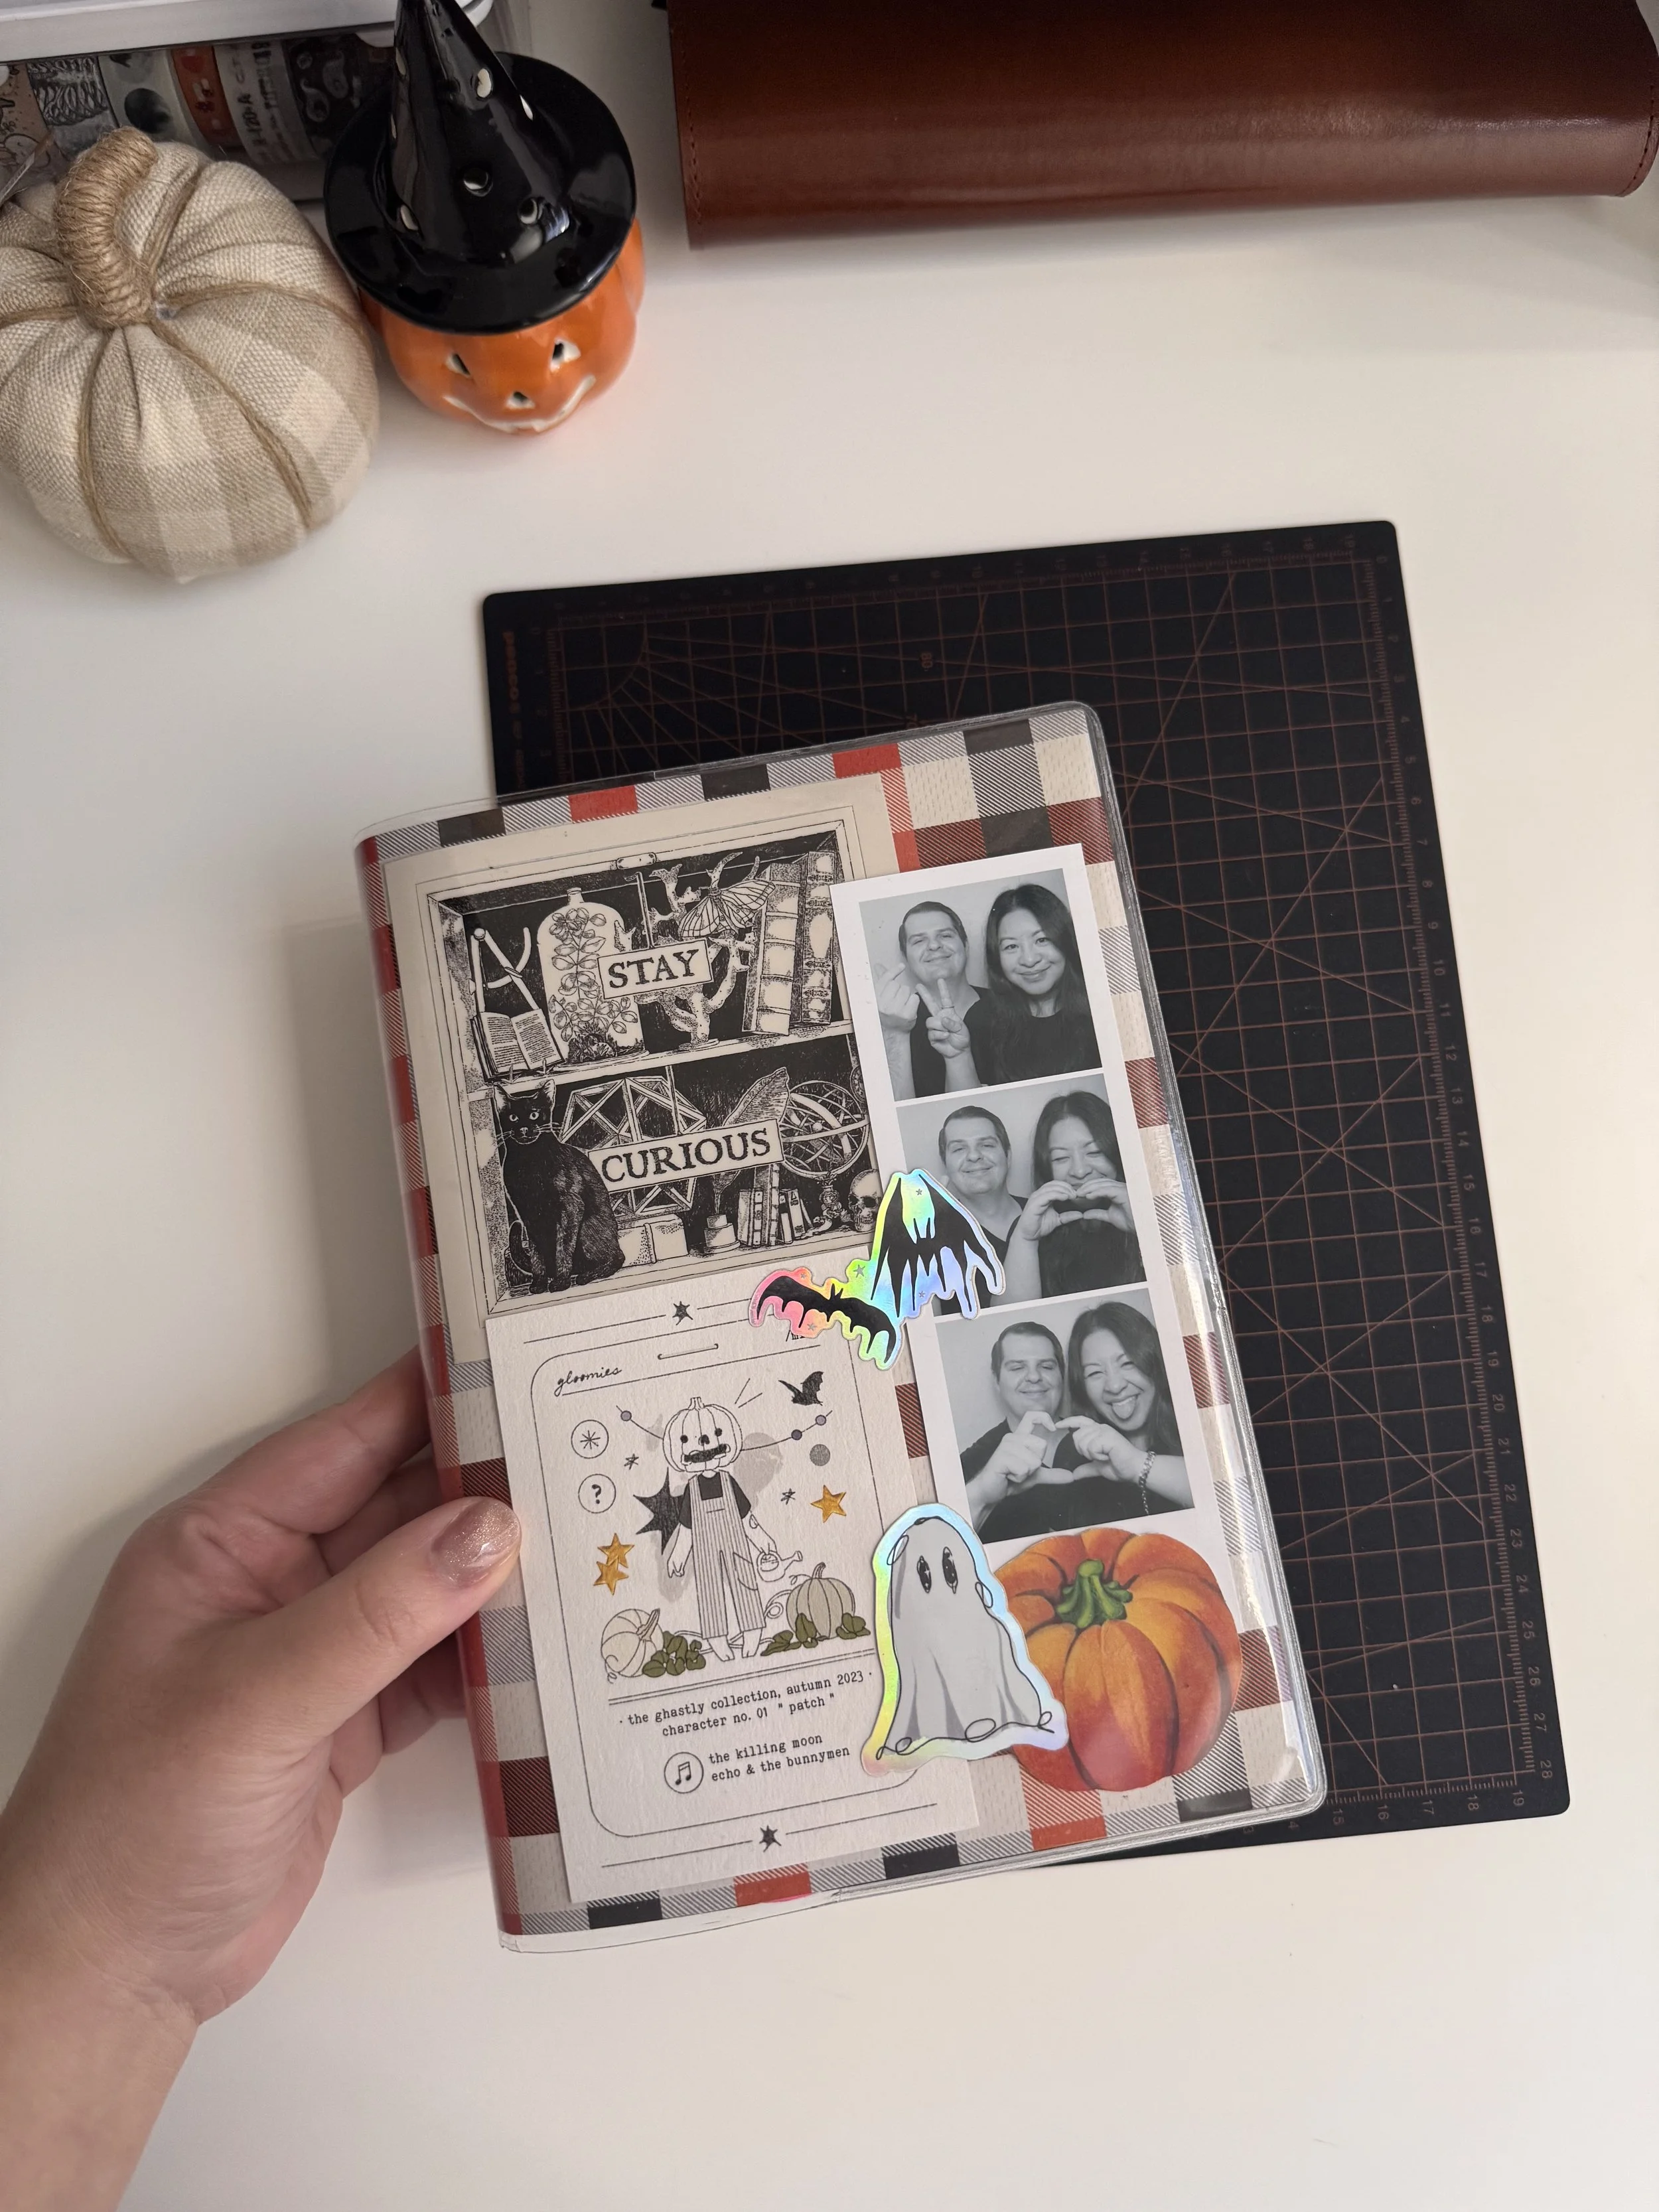
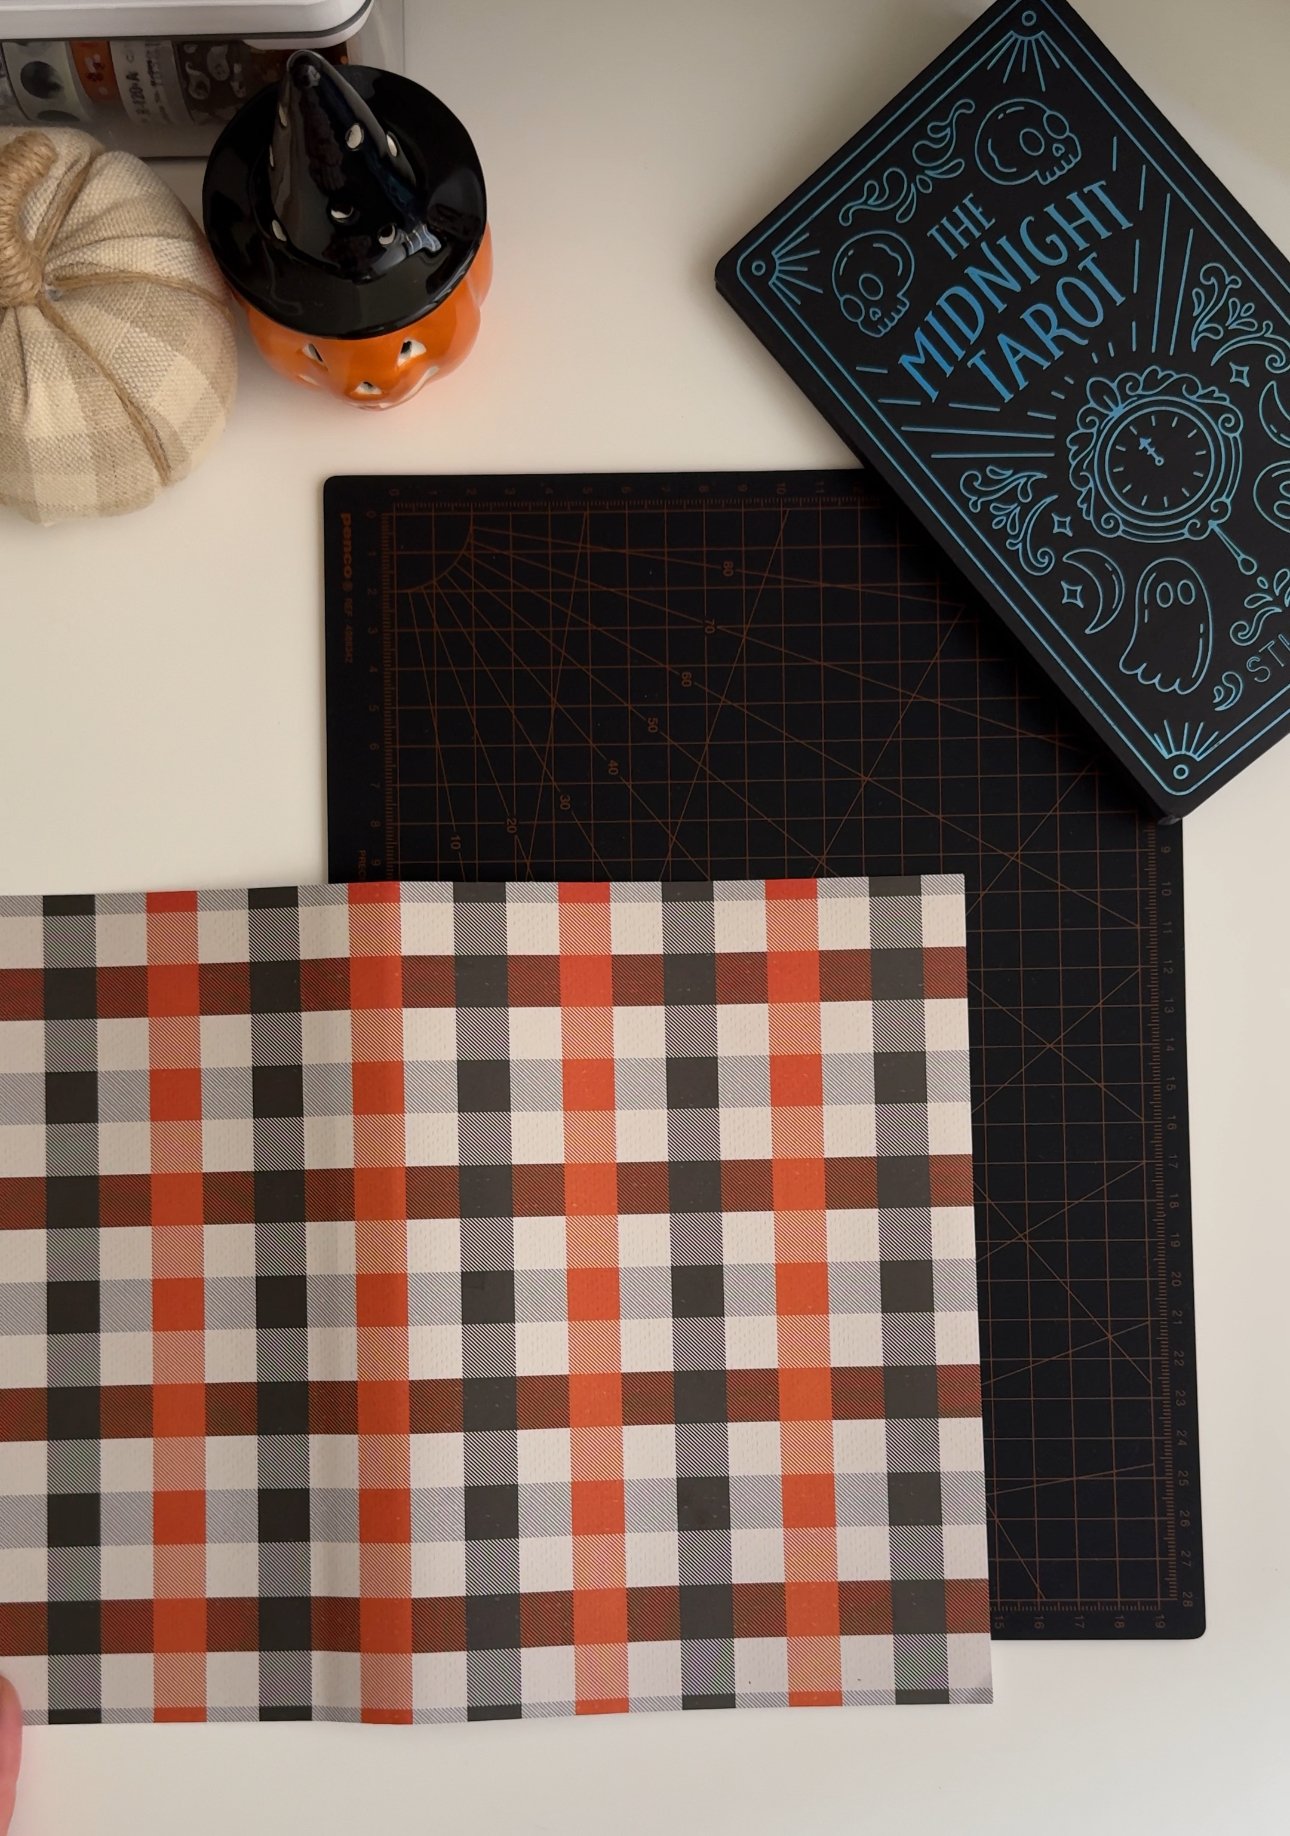
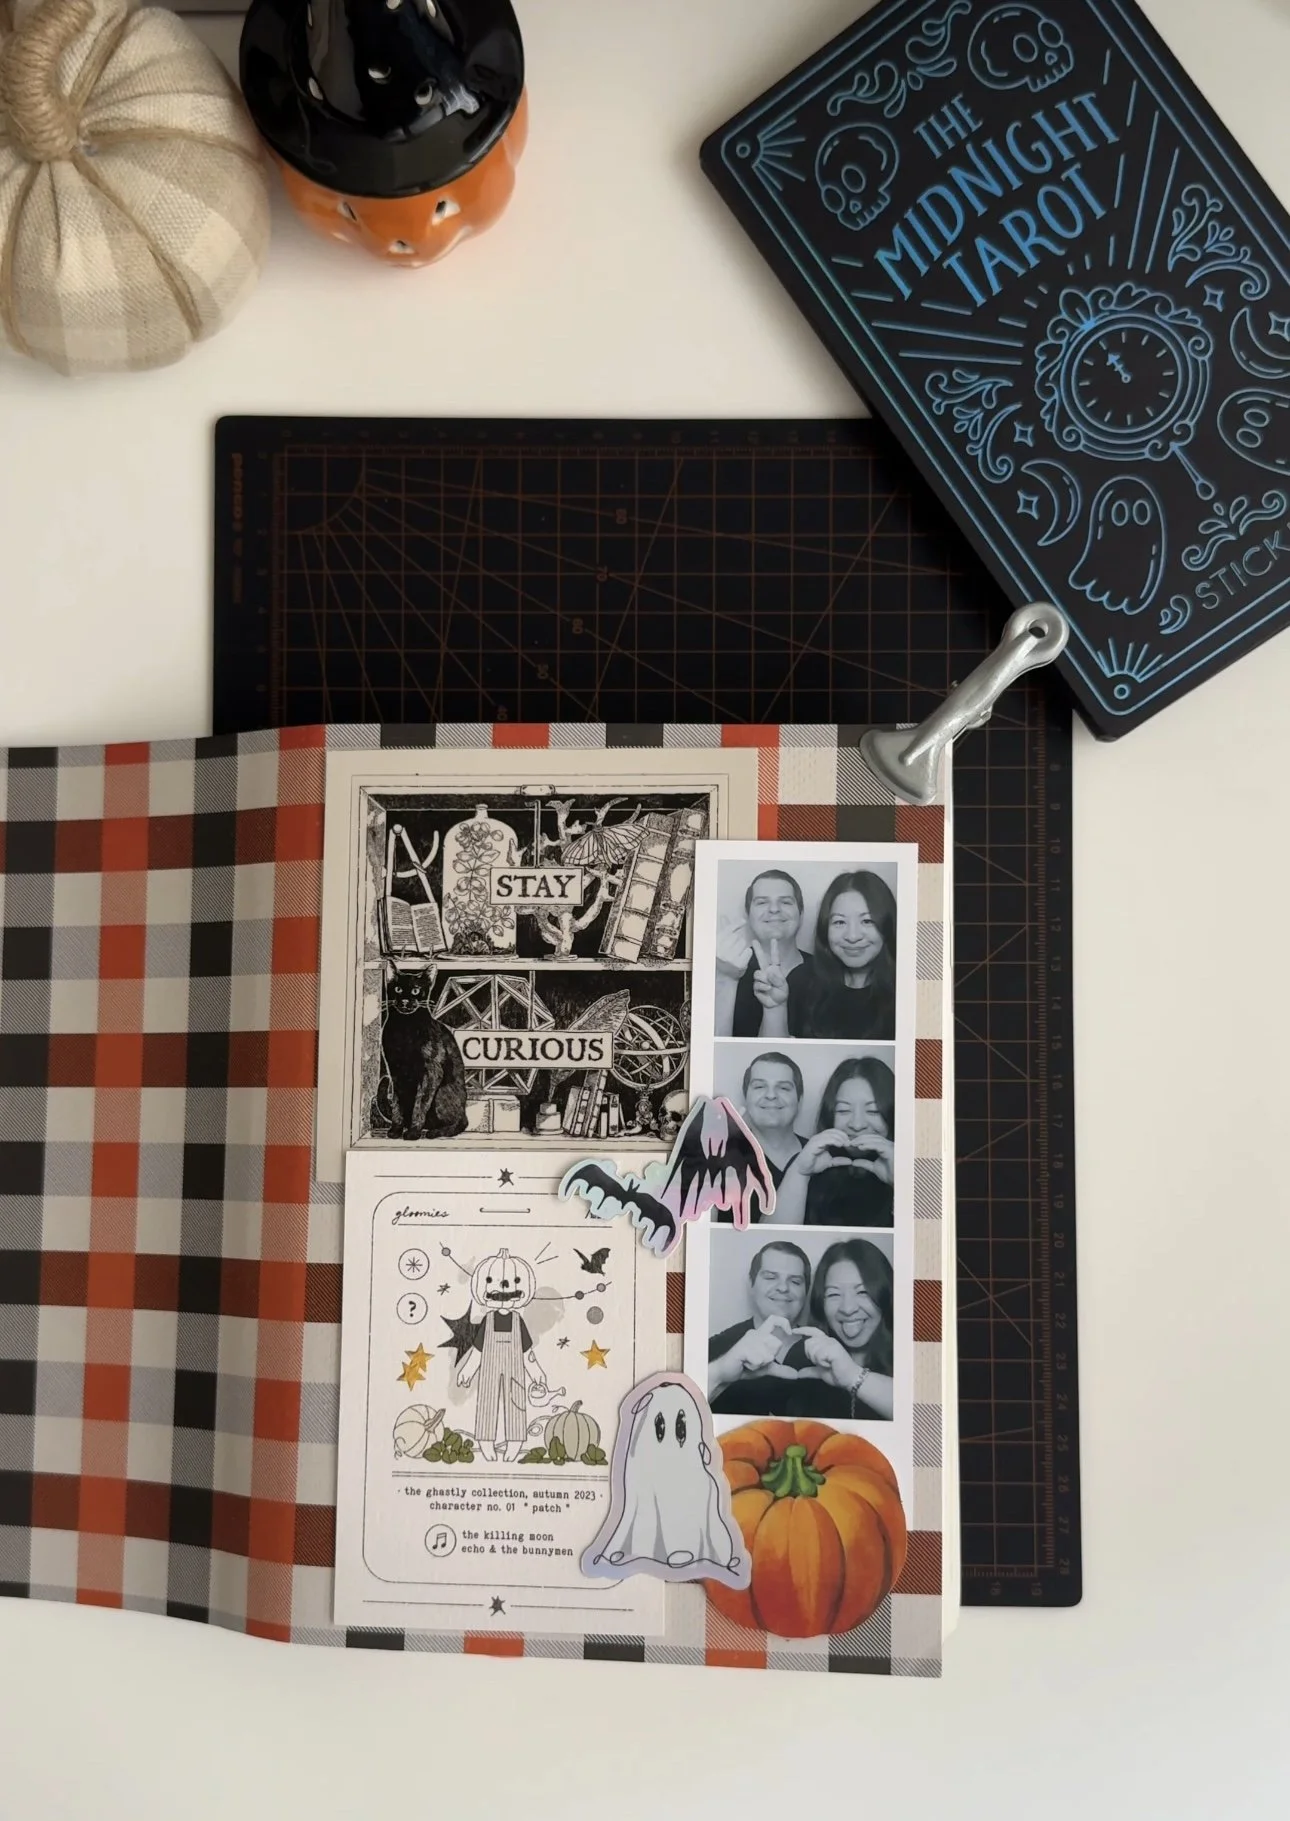
When it comes to fall and Halloween, I love to choose those traditional holiday colors, you know, black, orange and I like to mix it with a neutral so this checkered pattern I found in the paper pad was perfect! I also thought it would serve as a nice background with fall and Halloween themed designs and pictures.
3. Find elements for your theme
Now this is when the party starts!
A few tips on how I go about choosing elements for my journal cover:
Since the scrapbook paper I chose for my background has a lot going on with pattern, I decided to offset that with a more neutral sticker (The Strand Bookstore), a die cut card (Megan Rhiannon), and the photo I even chose is in black & white rather than color (Prada x Bloomingdale’s 2024).
Add elements related to the holiday, I chose this cute pumpkin I picked up a local NYC paper store called Bowne & Co. Stationers (it’s historical, it’s the city’s oldest business!). I also chose some holographic ghosts and bats from Katherine Karas (next photo) to spice things up (the holographic adds some sparkle and a different texture/design)! I really love to mix different elements whether it be colors, texture, etc.
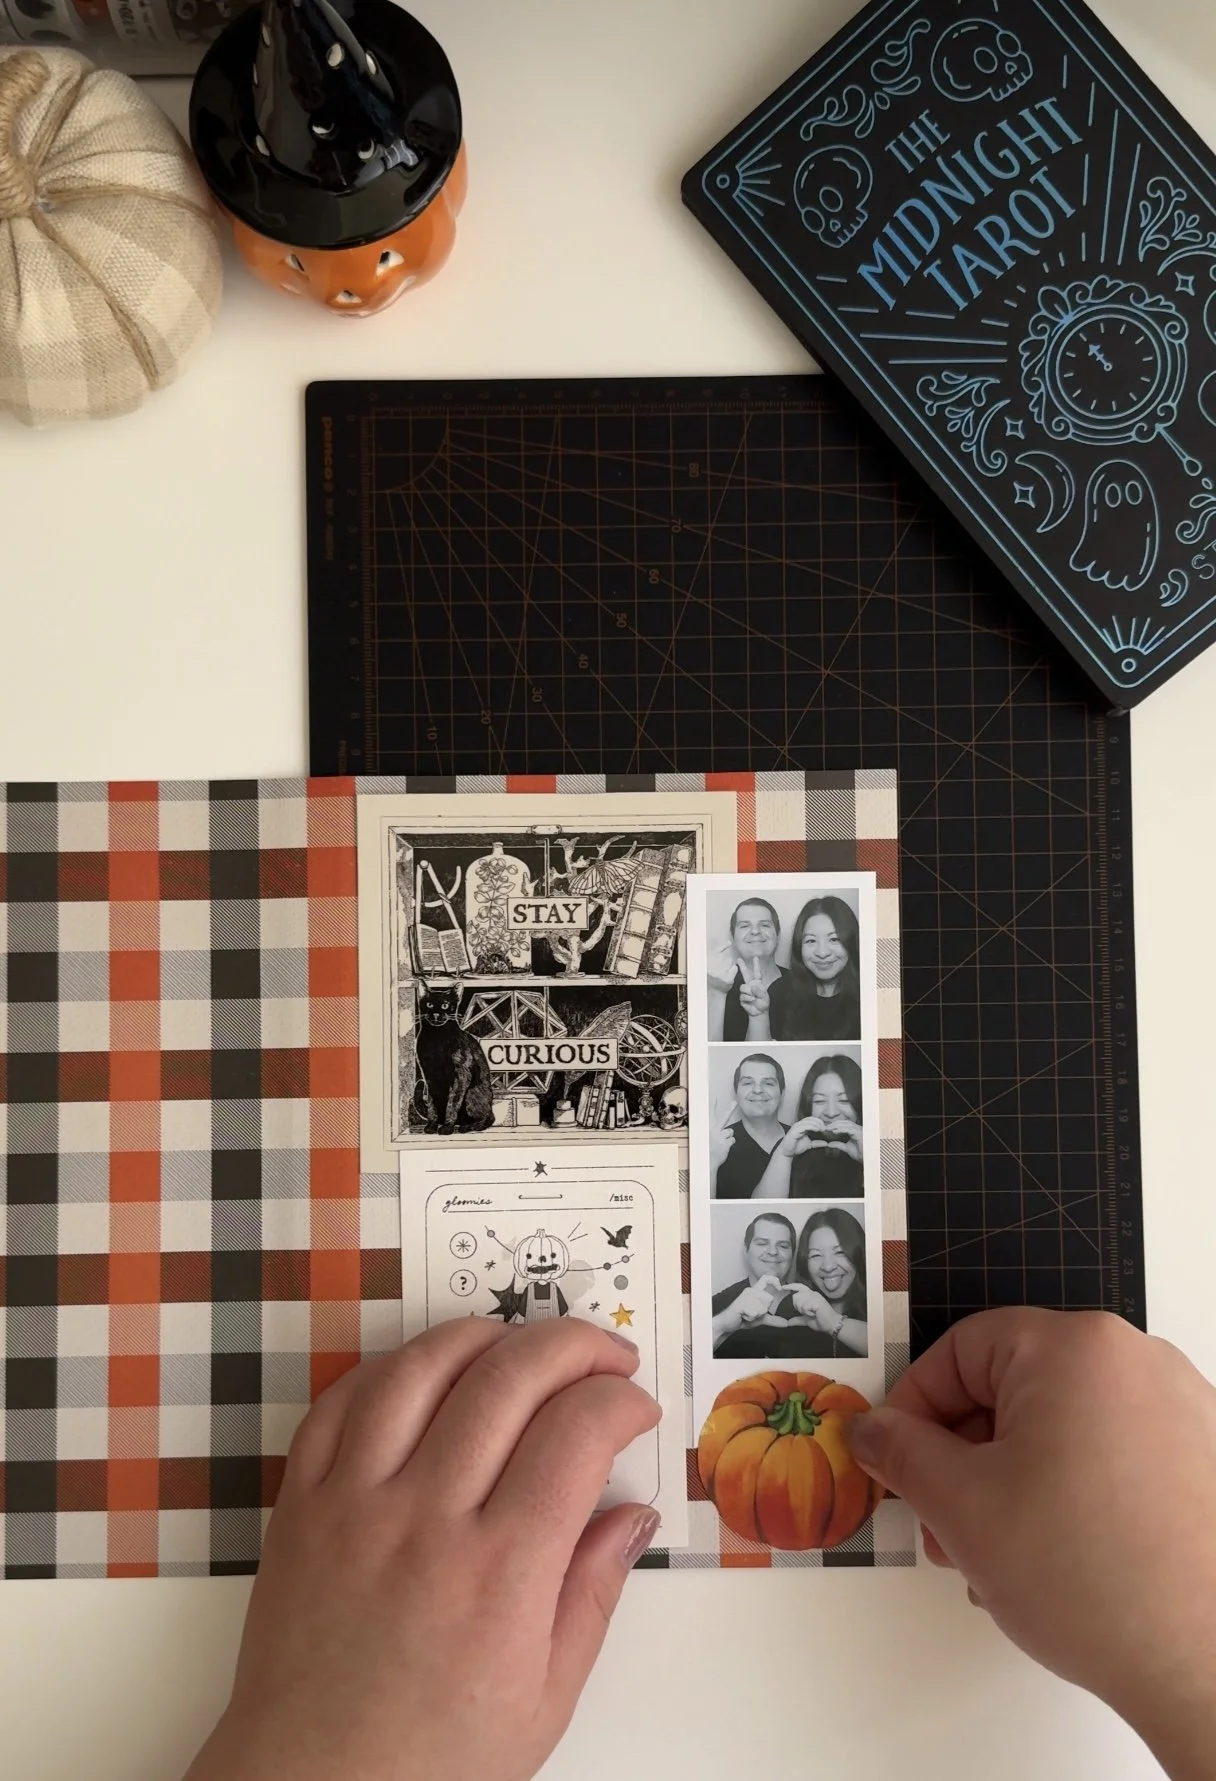
Once I’ve chosen the elements I’ve wanted to add to my cover, then I start arranging! Don’t get overwhelmed! Just keep it going and start placing things down. There’s not
4. keep it calm and arrange, arrange, arrange
When it comes to arranging, don’t get overwhelmed! Just take a deep breath and start placing things down. There’s no right or wrong way to do this.
I just start with the bigger elements on the bottom and use the small elements as accents!
Once I start placing things down and moving things around it just starts to come together, things are making sense, and then finally you find that “sweet” spot that triggers your brain and the thought finally arrives:
“I’m so happy with this!”.
side note: I actually don’t permanently stick my elements down to the scrapbook paper, I instead just use washi so that I can reuse them for something else later on (obviously you could do whatever you like, but that’s what I do hehe)!
Make sure to check out the Instagram Reel I made below showing my process as well as setting up my ENTIRE Halloween journal refresh!